Adding a New Category
-
Log in using Admin credentials.
-
Go to Dashboard, Catalogue then select Categories.

-
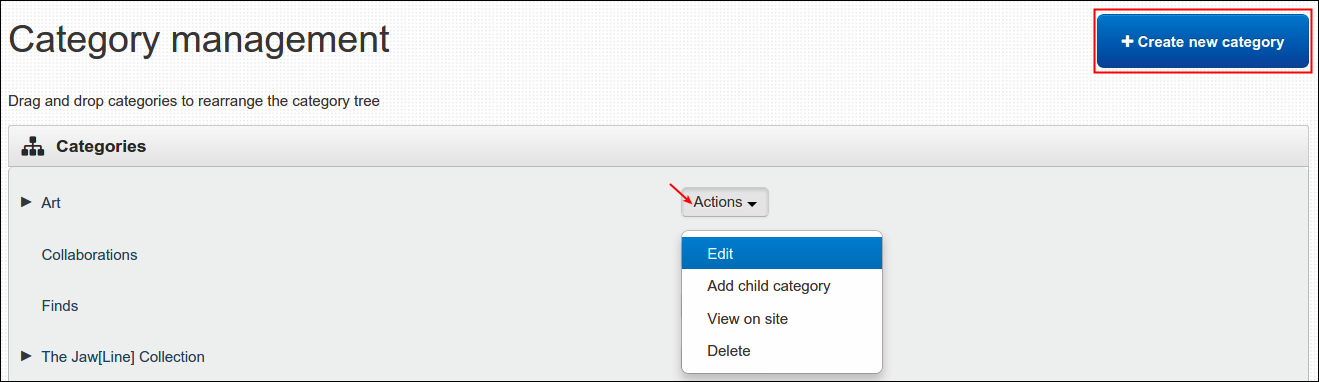
You will be then directed to Category Management page, created categories are all listed here. To continue, click Create new category button.

-
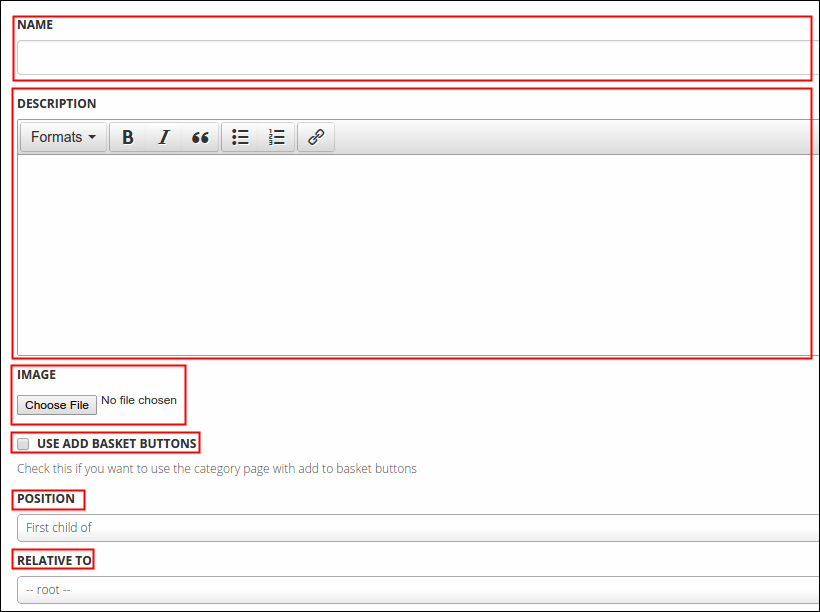
Fill in or use all the following required fields:
- Name- category title
- Description- short description of category, this must consist of few words only (i.e. by Jawda and Jawda)
- Image- a graphical representation of category but this won't display on the main site. To insert an image, click Choose File button and locate your preferred photo.
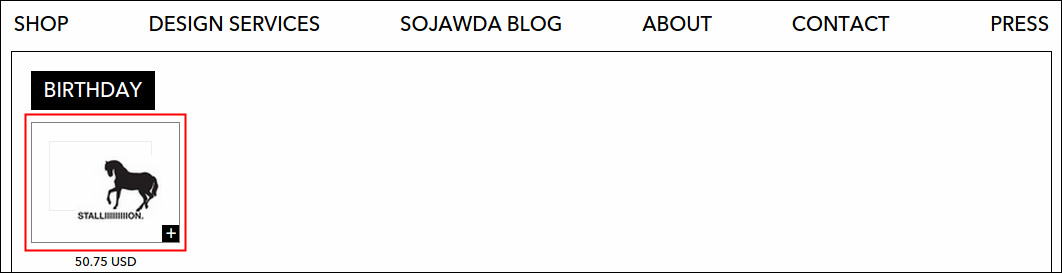
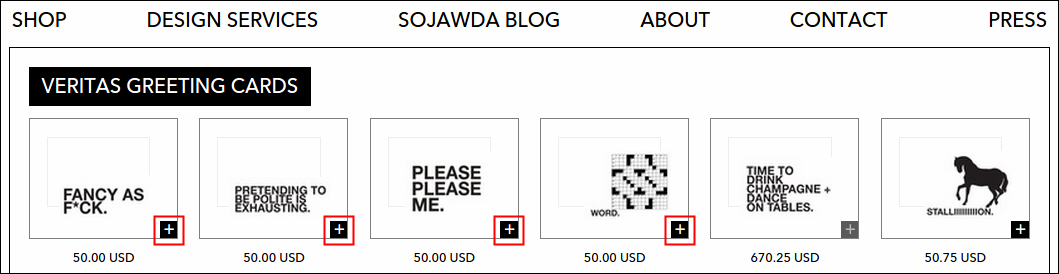
- Use Add Basket Buttons- this option enables you to use 'add to basket buttons' to easily add multiple items to shopping bag. Once viewed on site, you'll notice a plus (+) sign attached unto bottom right side hand of the box and when those signs were clicked, the product will be added to your basket and a mini shopping bag will pop out to display the just added items.
- Position- you can manage to place your category anywhere you want by using this option. There are three available choices from the list, see the descriptio of each below:
- First child of- when selected, category will be placed as the first item of chosen Relative To.
- Before- when selected, category will be positioned before the chosen Relative To.
- After- contrary with Before, category will be positioned after the chosen Relative To.
- Relative To- regrouping of categories/child categories? No problem!
-
Click Save to finish or click Cancel to void the change. Newly created category must now added to Categories list.
Adding a New Child Category
-
Log in using Admin credentials.
-
Go to Dashboard, Catalogue then select Categories.
-
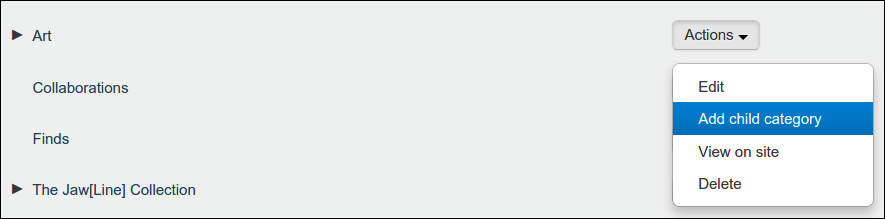
From the menu, select one category that you wish to obtain a child category. Click Actions then select Add child category.
-
Same with creating a new category, fill in or use all the following required fields:
- Name- child category title
- Description- short description of your child category, this must consist of few words only (i.e. by Jawda and Jawda)
- Image- a graphical representation of child category, this time it will be displayed on the main site when its mother category is clicked . To insert an image, click Choose File button and locate your preferred photo.
- Use Add Basket Buttons- this option enables you to use 'add to basket buttons' to easily add multiple items to shopping bag.
- Position- this option enables you to place your child categories somewhere under its mother category. There are three available choices from the list, see the descriptio of each below:
- First child of- when selected, child category will be placed as the first item of default Relative To.
- Before- when selected, child category will be positioned before the default Relative To.
- After- contrary with Before, child category will be positioned after the default Relative To.
- Relative To- when you select the Add child category as what instructed in #3 then this field is pre-filled, leave it as it is.
-
Click Save to finish or click Cancel to void the change. Newly created child category must now be added to Categories list under its parent.
Sorting Categories or Child Categories
-
Log in using Admin credentials.
-
Go to Dashboard, Catalogue then select Categories.
-
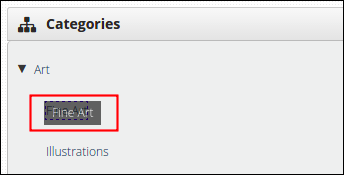
From the menu, select the category or child category that you want to reposition. Drag the item (you must see the broken line before you can move the item) to your target place and drop it. Dragged item should look like this:
Observe the following guideline on dropping the dragged item:
-
To relocate, drag and drop the item unto line with circle on its left tip;

-
To nest, drag and drop the item unto bordered item.

Note: While sorting, some categories with child category sometimes tend to unshow its border line when its sub categories are fully displayed, it is difficult to nest when those borders are not shown. To avoid this, always unexpand or hide the properties of a parent by clicking the small black arrow.

Editing an Existing Category or Child Category
-
Log in using Admin credentials.
-
Go to Dashboard, Catalogue then select Categories.
-
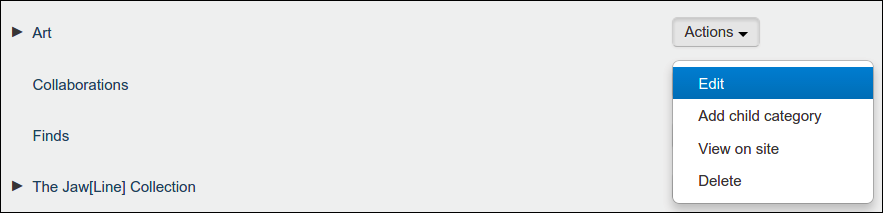
From the menu, select one category or child category that you wish to update. Click Actions, then select Edit.
-
Just like creating a category or child category, same form will display. Go to section that you wish to edit, you may review again the description of each field below:
- Name- category title
- Description- short description of category, this must consist of few words only (i.e. by Jawda and Jawda)
- Image- a graphical representation of category that displays on Shop main page. To insert an image, click Choose File button and locate your preferred photo.
- Use Add Basket Buttons- this option enables you to use 'add to basket buttons' to easily add multiple items to shopping bag. Once viewed on site, you'll notice a plus (+) sign attached unto bottom right side hand of the box and when those signs were clicked, the product will be added to your basket and a mini shopping bag will pop out to display the just added items.
- Position- you can manage to place your category anywhere you want by using this option. There are three available choices from the list, see the descriptio of each below:
- First child of- when selected, category will be placed as the first item of chosen Relative To.
- Before- when selected, category will be positioned before the chosen Relative To.
- After- contrary with Before, category will be positioned after the chosen Relative To.
- Relative To- regrouping of categories/child categories happens here.
-
Click Save to finish or Cancel to return to the menu. Newly updated information must now be visible in the list and on the main site.
Viewing the Category or Child Category on Site
-
Log in using Admin credentials.
-
Go to Dashboard, Catalogue then select Categories.
-
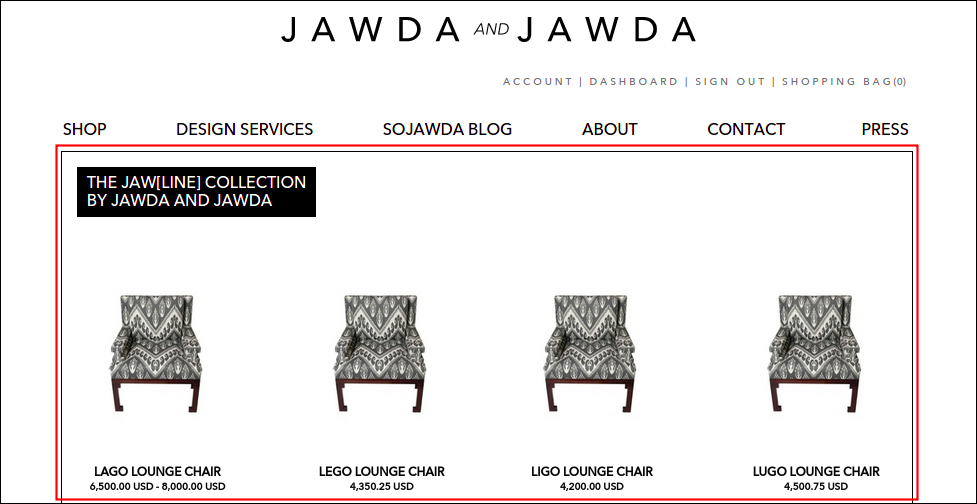
From the menu, select the category that you wanted to see on site. Just click Actions, then select View on site.
-
You will be then directed to main site. At this point, I chose to view the Jawline Collection category, this page should appear afterwards:
Deleting an Existing Category or Child Category
-
Log in using Admin credentials.
-
Go to Dashboard, Catalogue then select Categories.
-
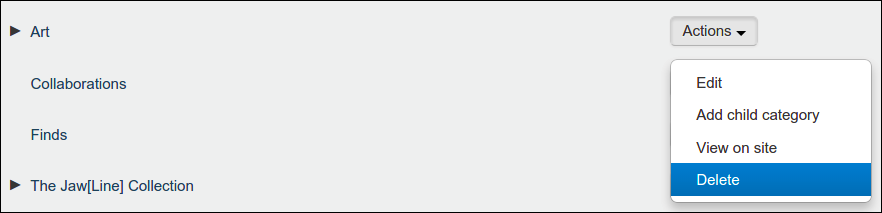
From the menu, choose the category or child category that you wish to delete. Click Actions, then select Delete.
-
A delete confirmation message will come out to validate your action.
-
Click Delete to continue or Cancel to return to the menu. As you clicked the Delete option, concerned category must now removed from the Categories list and must no longer displayed on the main site.
How to add 'Add to Cart' Buttons on Category Page
If you wanted to add an item to basket without visiting its main page then you must learn to enable the Use Add Basket Buttons option. To locate the said option, simply follow these instructions:
-
Log in using Admin credentials.
-
Click Dashboard, Catalogue then select Categories.
-
From here, you can either click the Create New Category button or edit an existing category or child category by clicking its Actions, select Edit.
-
Either way will lead you to Category model, toggle Use Add Basket Buttons and click Save.

To check if 'add to cart' button were added, locate the category that you just update, click Actions and select View on Site.

A plus(+) icon should now be added unto bottom right side hand of the image, just like this..
How to Add Product to New Sub-Categories
-
Log in using Admin credentials.
-
Go to Shop menu and find the product that you want to be added to newly created sub-categories.
-
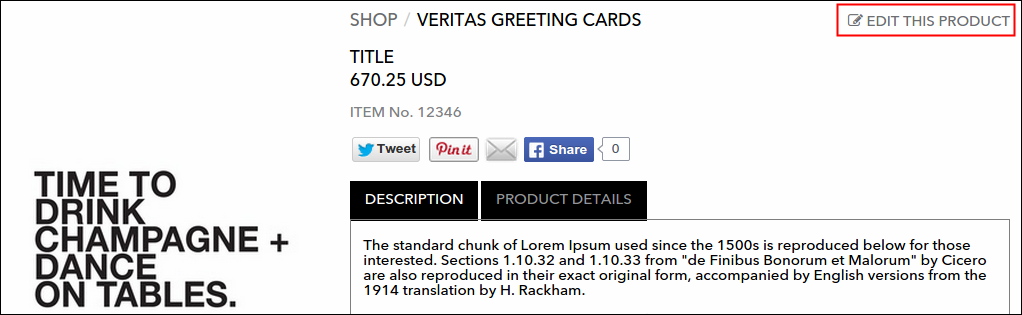
From product page, click Edit this Product link.
-
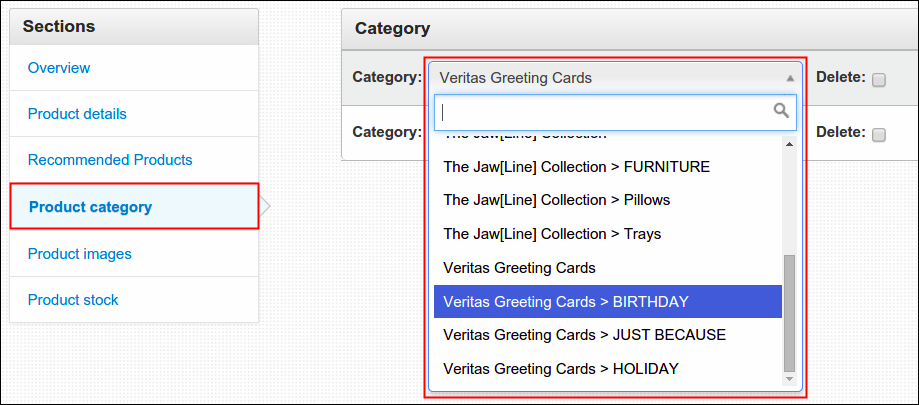
Under Product Category, select from the list which category you want to place your product and then click Save. As an example, I transferred the Stallion card to Birthday sub-category.
-
A confirmation message will appear, click View it on the site button to check the update. Stallion should now be under Birthday sub category.