Changing the Order Status
-
Log in using Admin credentials.
-
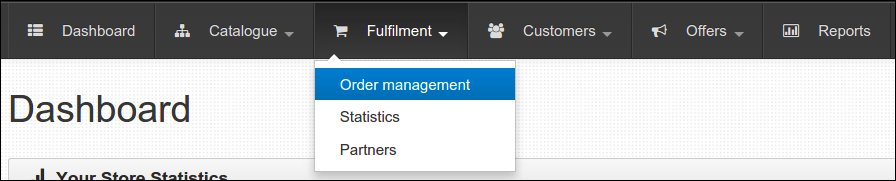
Click Dashboard, Fulfilment and select Order Management.
-
You are now led to Order Management page, all made orders are presented here. From the list, select one order and click either its Order number or its View button to show more of order details.

-
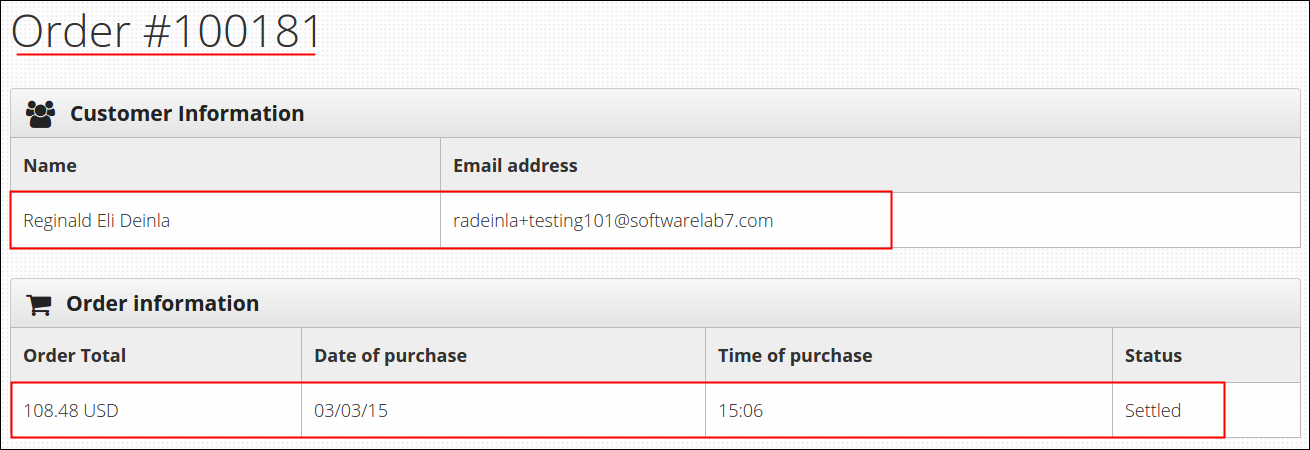
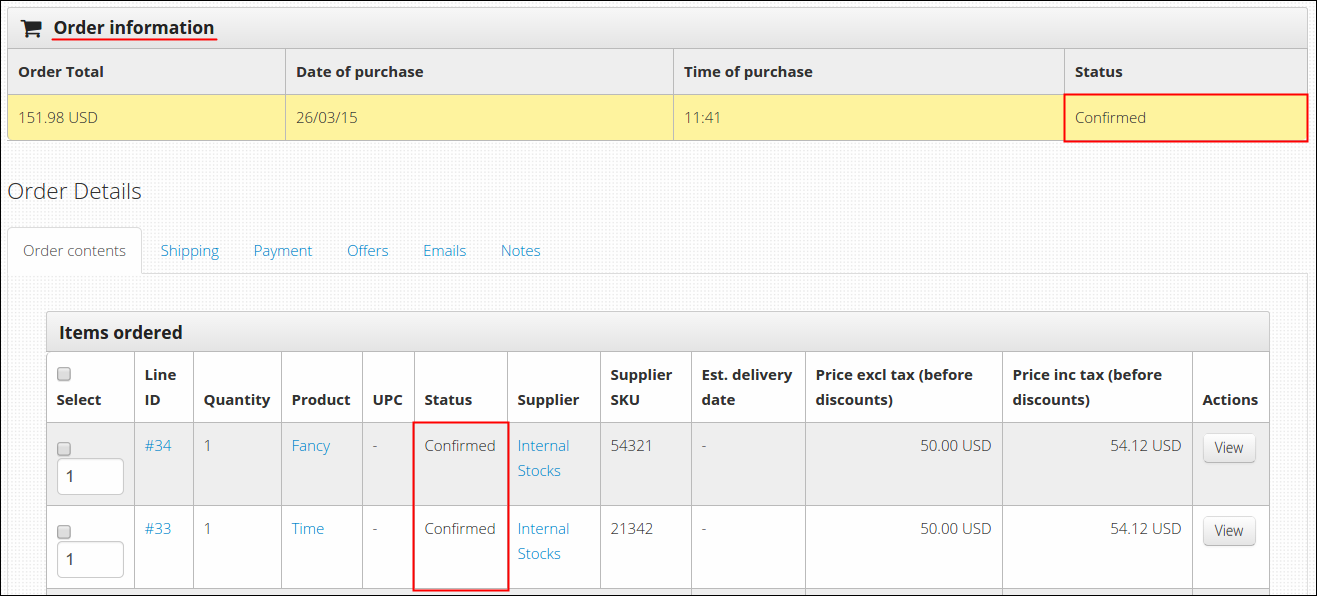
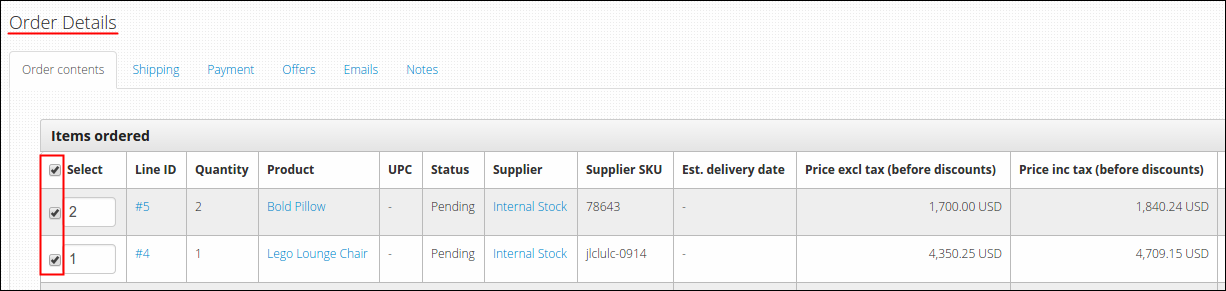
You will be directed in a page which is named after the order number, on this example its Order #100181. All information regarding the order are all displayed here. At the upper part of the page you can see the Customer Information and Order Information tables.
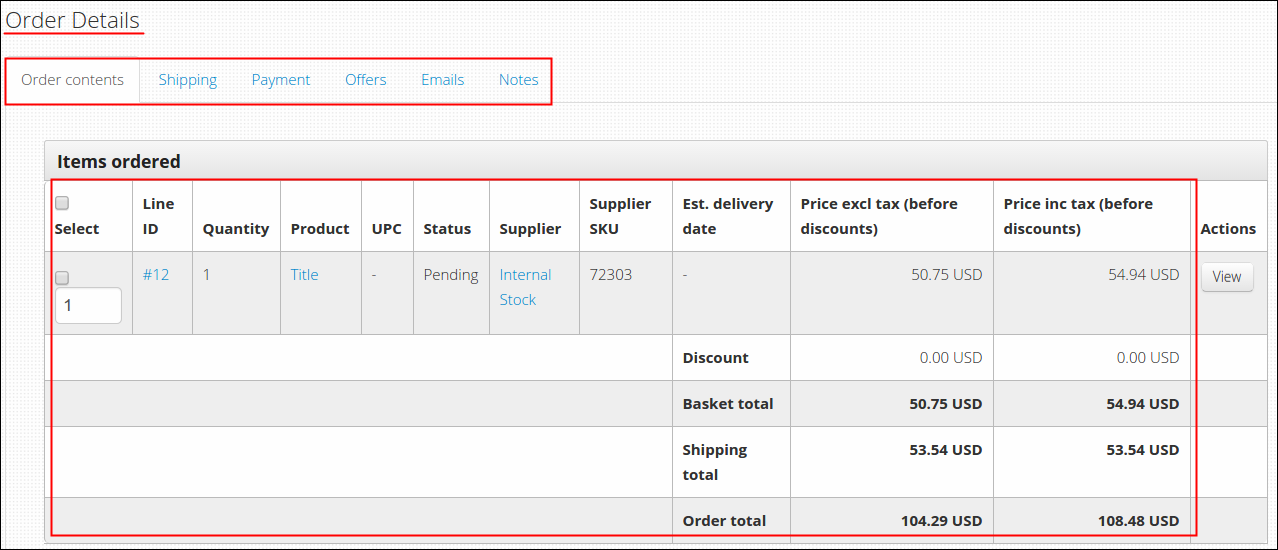
At the middle is the Order Details with 6 tabs that you can review, they are as follows:
- Order Contents: products (and their details) included in the order
- Shipping: shipping information of the order
- Payment: payment information of the order
- Offers: promos linked to the order
- Emails: email data, if provided
- Notes: order comments
-
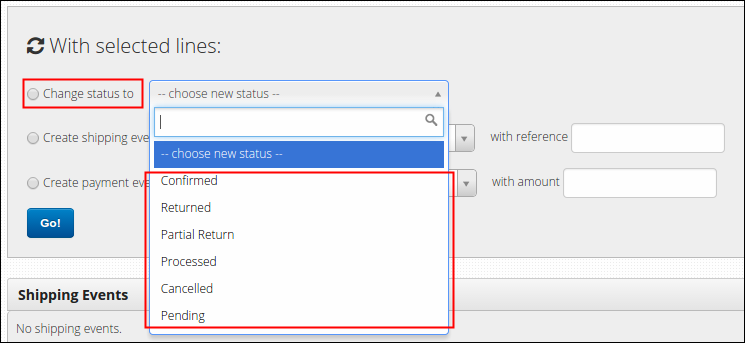
To change the status of an order (or certain products under an order), from Items Ordered table select the line or the item that you wish to change the status and tick Change status to option on the next box.
-
Select one from the six transaction status that best describes the item or the whole order and click Go!. Six transaction status and its validation are as follows:
- Pending- initial status of an order, this can only be changed to either Cancelled or Processed.
- Processed- set this status when the item/s are sent for shipping, next possible status are only Confirmed, Returned and Partial Return.
- Confirmed- set this status when customer confirmed that they already received the item, next valid status are only Returned and Partial Return (some items on the order has returned status but not the whole order).
- Returned- set this status when customer decided to return the item due to any possible reasons like customer may dislike the ordered item or may received the item in no good condition.
- Partial Return- if ever happen that some items of an order has returned status and some aren't, set this status to those items that aren't returned yet. You may change this status later on to Returned when customer decided to return the whole order.
- Cancelled- set this status when customer suddenly changed his/her mind and wished to void the order. Once the certain item or the whole order was cancelled, there is no way to relive it so be careful.
Note: As you changed the status, a message will appear to confirm your action and status in the table will also update real time. If it happens that all lines in one order has the same status, that will reflect as the status of the whole order and you can check that in Order Information table.
Creating New Shipping Event
-
Log in using Admin credentials.
-
Click Dashboard, Fulfilment and select Order Management.
-
From the list of All Orders, select one order that you wish to update its shipping event and click either its Order number or the View button.
-
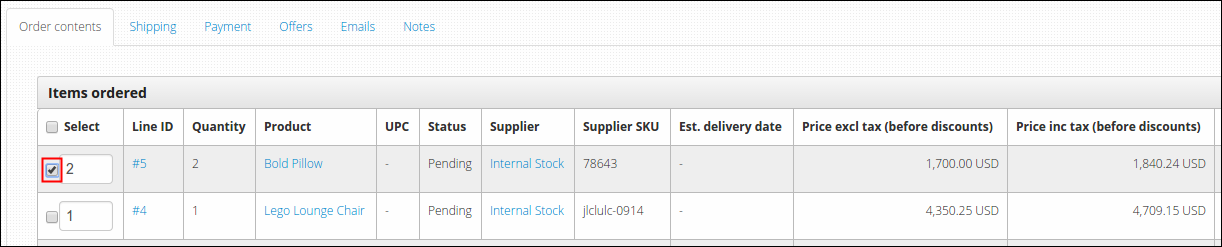
You will be then directed to Order information page, go to Order contents tab and check the concerned product or Line ID, you may also check all (if only applicable) by ticking the Select option
-
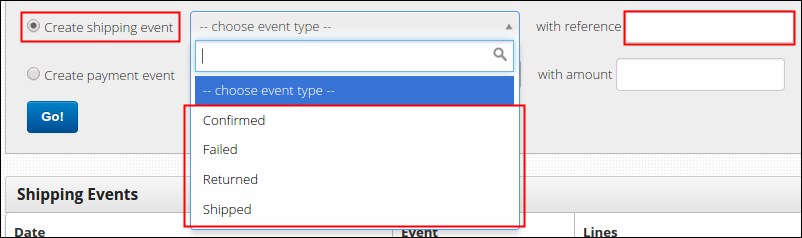
Tick Create Shipping Event option and always create an Shipped event type as the initial event type, other related events and its validation are as follows:
- Shipped- as discussed earlier, this should be created first as the initial event type of an order or product. Shipped event means the item were already sent for shipping, from here next valid events are only Confirmed, Failed and Returned.
- Confirmed- set this event type when customer received the item, from here you can only update the event to Returned.
- Failed- set this event type when item wasn't delivered to customer.
- Returned- set this event type when customer received the item and wished to send it back afterwards.
Enter the reference number (if any) and click Go!.
-
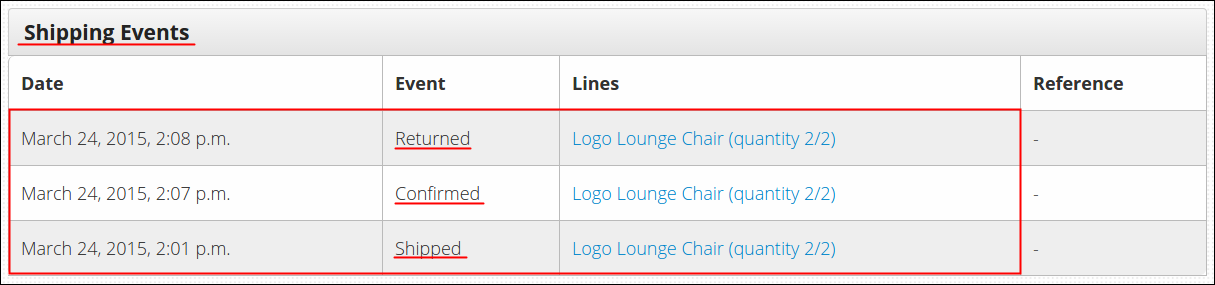
You will be notified that the shipping event is created and new event will be recorded in Shipping Events table. On every update of your order or product, this table will update too. As an example, I created an Shipped shipping event for Logo Lounge Chair then I update it to Confirmed --> Returned status.
Creating New Payment Event
-
Log in using Admin credentials.
-
Click Dashboard, Fulfilment and select Order Management.
-
Same with the given guidelines above, select one order from the list and click either its Order number or the View button.
-
At the middle of the page, you can find Order Details section, go to Order contents tab and check the concerned product or Line ID that you wish to update its payment event. You can also check all (if only applicable) by ticking the Select option.
-
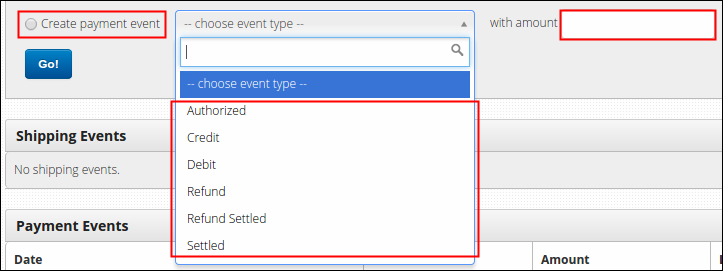
Tick Create Payment Event option and select the event type that best describes the status of your order payment. Events must be created in observance of the following manner:
- Authorized- this is the initial payment event of an order or item. Authorized means item were already send to Authorize.net to be processed.
- Settled- from Authorized event type, Settled will automatically set in once Authorize.net received the money.
- Refund- set this payment event when customer suddenly wished to return the item and pay back their money. It must always be on Settled status first before you can create the Refund event.
- Refund Settled- from the time you created an Refund event, this event will automatically set in once Authorize.net paid back the certain amount to customer.
- Debit- this applies to direct payments only, initial event is always Debit.
- Credit- set this payment event when debited amount were already cleared.
For every update of your payment event, always enter the amount involved as part of your record, click Go! to finish.
-
You will be notified on your every update that the payment event is created and that event will be recorded and will update as well real time in Payment Events table.