Changing the Image of a Category Link
Currently, Design Services already has its own page that displays an image and links to each category pages when clicked. To change the photo of the said image liks, simply follow the following guidelines.
-
As always, log in using Admin credentials.
-
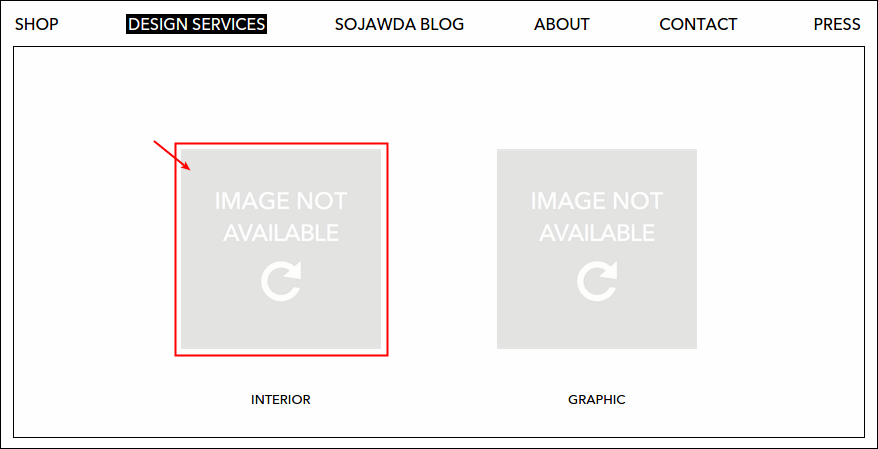
Click Design Services, from the two dislayed categoried (Interior and Graphic) select one. Let's try Interior. Currently, I haven't change the picture so it displays the default image 'Image Not Available'.
-
Items under clicked category will display (if any), but if there isn't added new page yet then it would be a blank page. To make sure that you're in the right page, check the url. Name of the selected category should be the last word in the line, just like this for Interior:
jawda-staging.softwarelab7.com/design-services/interiors/ -
Next, click Page and select Edit This Page.

-
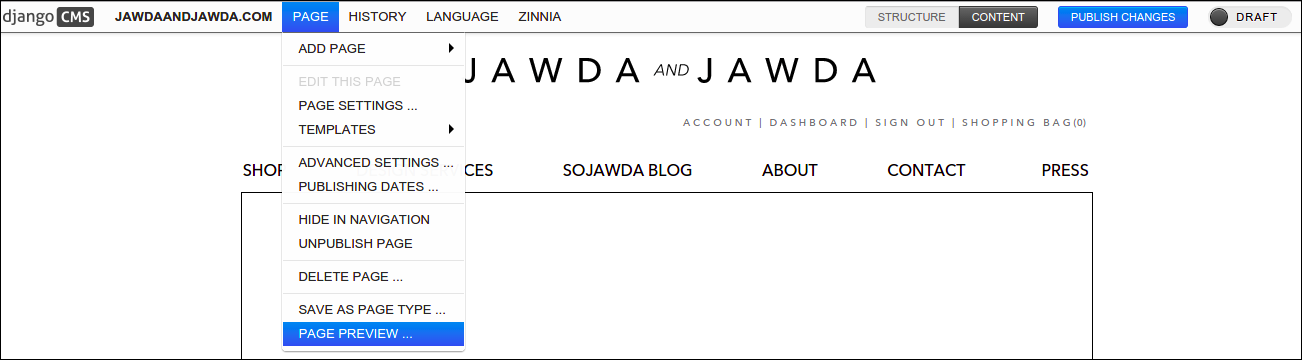
Click Page again and select Page Preview.
-
To change the image, click Choose File and select the photo that you want to upload.

-
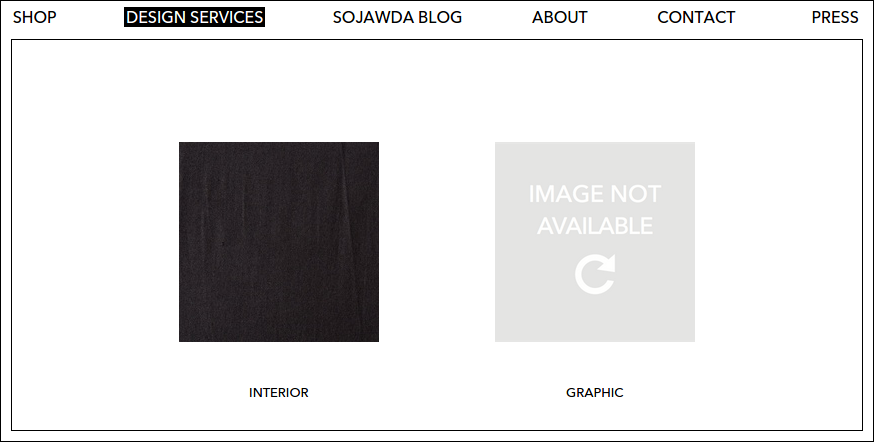
Once done, click Save and hit Publish Changes button to post your made changes. I uploaded a photo under Interior and here's what it looks like now after I publish the change.
Selecting the Right Template
Design Services page displays three different common templates namely: 2 per row links to subpages (applied to categories such as Interior and Graphic), 3 per row links to subpages (applied to sub categories that contains projects, this displays a title as well) and lastly full width (no sidebars) (applied to project page, please refer to Enabling Thumbnails and Image Preview on Project Page. On this section, I'll guide you on how to change the template of a page and when to use each respective temmplates.
-
First, log in using your Admin credentials.
-
Click Design Services from menu. Let's try to set a template that displays 2 items per row, let's put it under Commercial. Select Commercial, make sure that the url looks like this: jawda-staging.softwarelab7.com/design-services/interiors/commercial/.
-
Click Page and select Edit This Page.
-
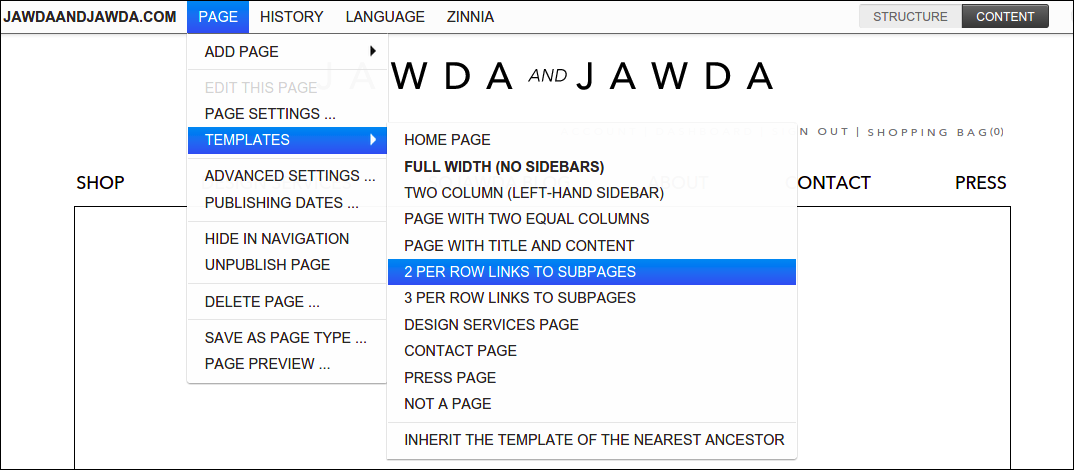
Click Page again and select Templates. From then, a list of templates will display, select 2 PER ROW LINKS TO SUBPAGES.
-
Click Publish Changes button. Now that we already set our template, let's start to add pages under Commercial. Follow the steps from Adding a New Child Page, but put the new pages under Commercial instead. Try to add 3 new pages, use any word that you like to name those pages.
-
As you publish the three added pages, the selected template of 2 per row links to subpages should take place, third item should be placed on the second row just like this:
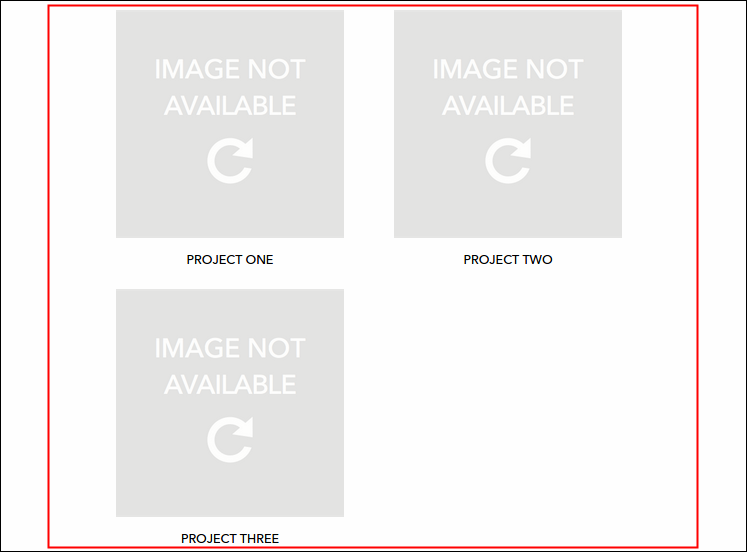
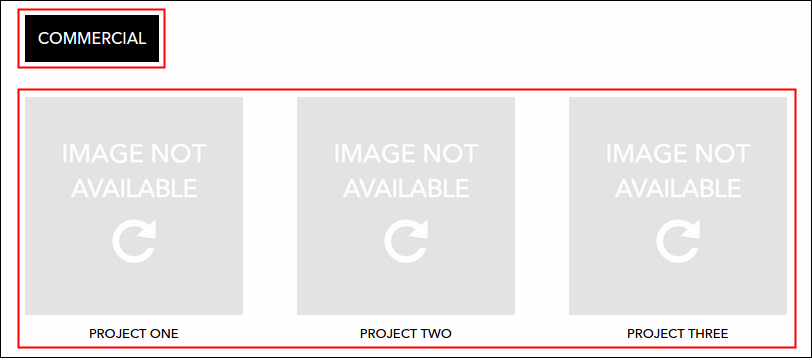
Same goes with 3 per row links to subpages, page should have the following format instead: 3 items per row and has a title at the top left hand of the page.
Enabling Thumbnails and Image Preview on Project Page
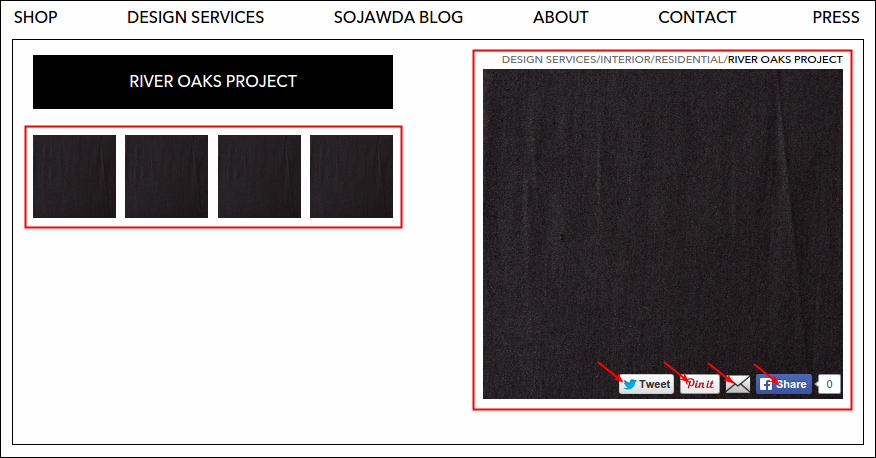
As requested, there would be a new page format that displays set of thumbnails (4 columns, 3 rows) on the left section of the page and has an image preview on the right. This preview has the ability to tweet, pin, mail and share on facebook the clicked image. Enabling the said option is so easy, simply follow the steps below:
-
First, log in using your Admin credentials.
-
Click Design Services and select one project page. Currently, Residential has three present projects, let's try to add items on River Oaks Project. Don't forget to check the url, name of the selected project should be the last word in the line: jawda-staging.softwarelab7.com/design-services/interiors/residential/river-oaks-project/.
-
Let us now set the page template. Click Page and select Edit This Page.
-
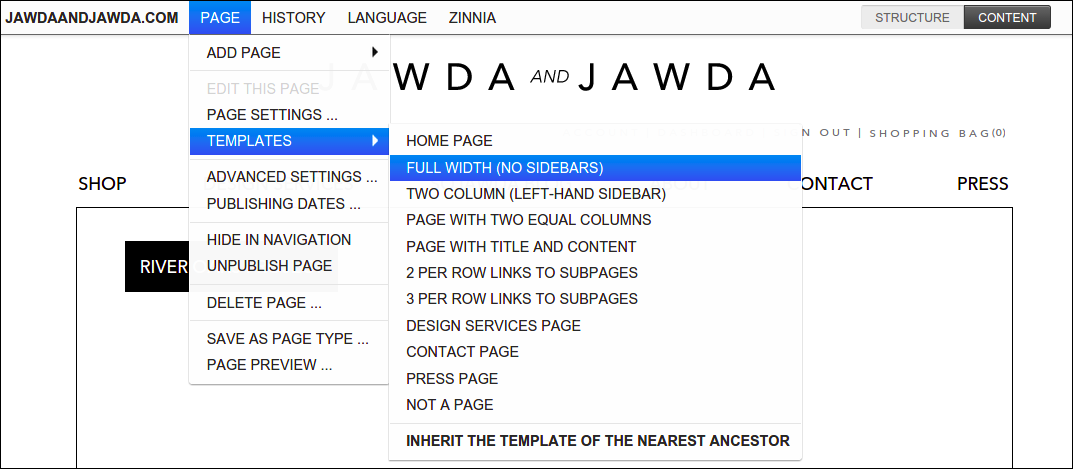
Click Page again and select Templates. From then, select FULL WIDTH (NO SIDEBARS).
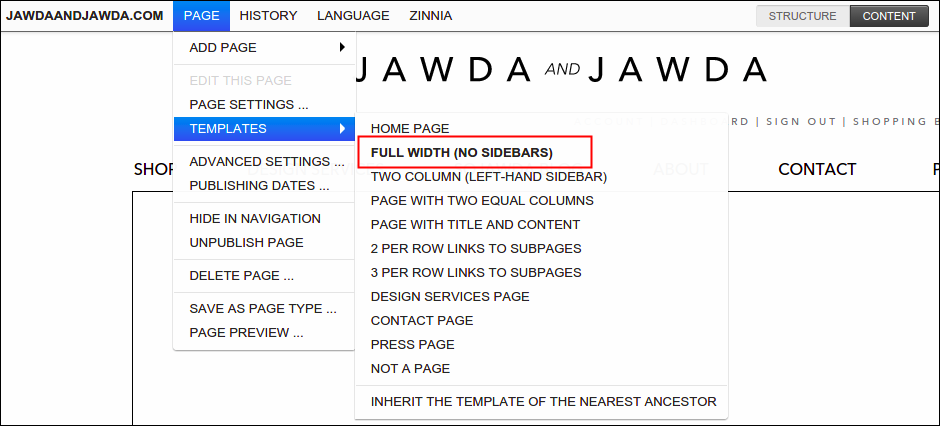
To check if you selected the right template, click again Page and hover your cursor over Templates, current selected template is bolder than others.
-
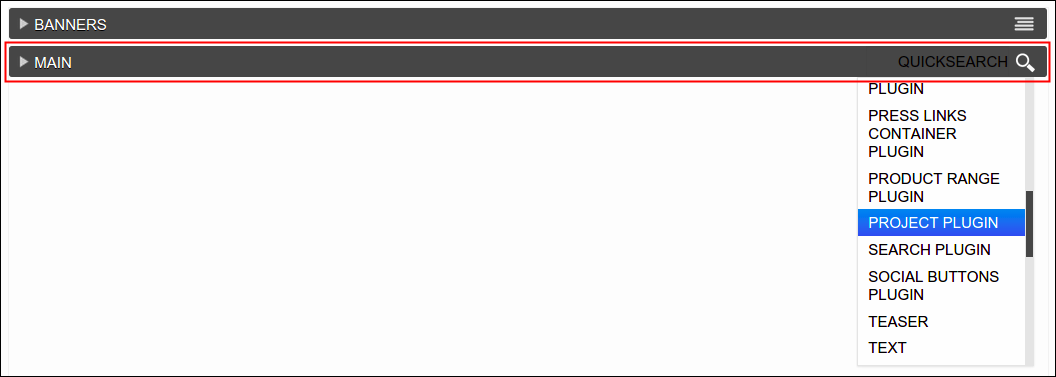
Click Structure button. Go to Main placeholder, drag your cursor over its setting and then locate Project Plugin from the list. Click Save afterwards.
-
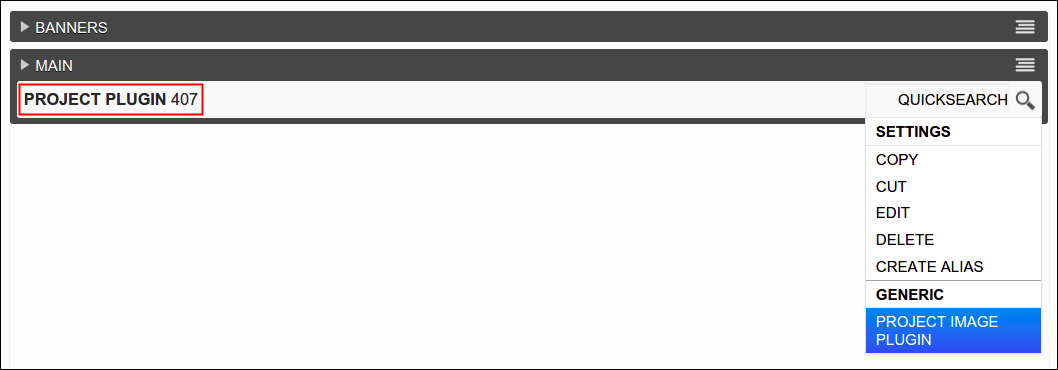
As you saved, Project Plugin should be now added under Main. Let us now add the images under River Oaks Project, drag your cursor over the plugin's setting and then select Project Image Plugin.
A window will pop out, click Choose File button and locate the image that you wish to upload. To add more, repeat step #6 until you reached your desired number of image per project. Click Save afterwards.
-
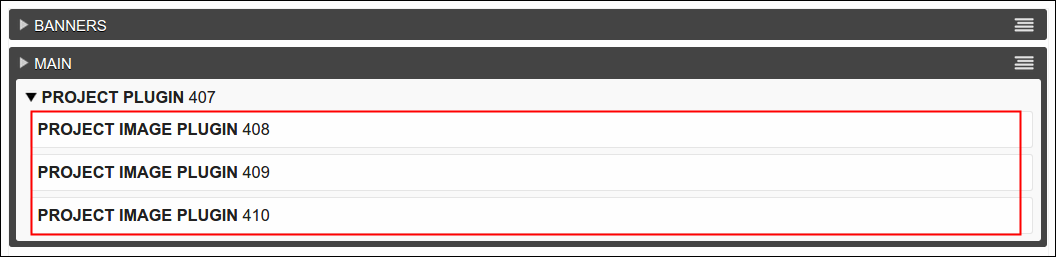
Newly uploaded images should be now added under Project Plugin. As an example, I uploaded 3 new images and that reflects on this picture:
You may as well click the Content button to see the visual version of it.
-
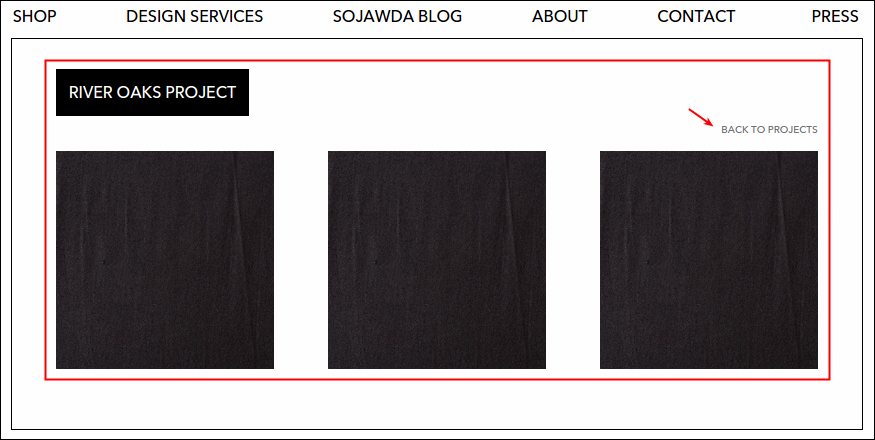
Lastly, don't forget to click Publish Changes button so that you can save and post the changes that you just made. Here's what the River Oaks Project looks like now, observe the link that diverts to Residential page when clicked.
Note: Page will automatically turn to a different format when you uploaded more than 3 images. Concerned images will automatically turn into thumbnails (4 columns, 3 rows max), and clicked thumbnail will display on the right section of the page. On this page, you'll also be able to tweet, pin, mail and share on facebook the clicked thumbnail.
Changing the Image of an Existing Thumbnail
Modifying the image displayed on a project page is so easy, simply follow these guidelines.
-
Log in using Admin credentials.
-
Go to Design Services and locate the image that you wish to change. Let's try to change one of the thumbnails of River Oaks Project.
-
Click the Live button, located at the top right hand of the page. As you clicked the button, status will turn to Draft.

-
As page turns turns to Draft status, two buttons will show up. Click Structure.

-
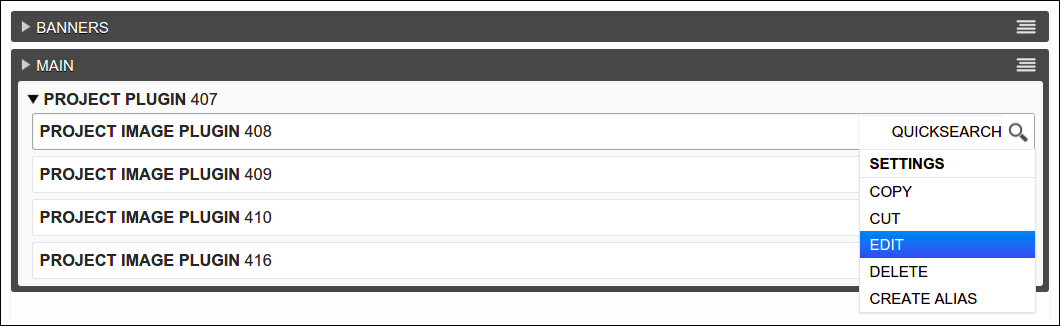
Banners and Main plugins will display as well as the Project Image Plugin under it, focus on Main plugin only. From the list of image plugins under Project Plugin, select the plugin that contains the image that you wish to modify. Move your cursor over its setting (at the end of the line) and select Edit. In this case, I selected Project Image Plugin 408.
-
Project Image Plugin window will pop out, change the image by clicking the Choose File button. Select your desired image to replace the existing one and click Save.

-
After page finish the image uploading, you may click the Content button to check if the image is successfully changed. After checking, you'll notice the new blue button named Publish Changes. Click the said button to post your just made changes.

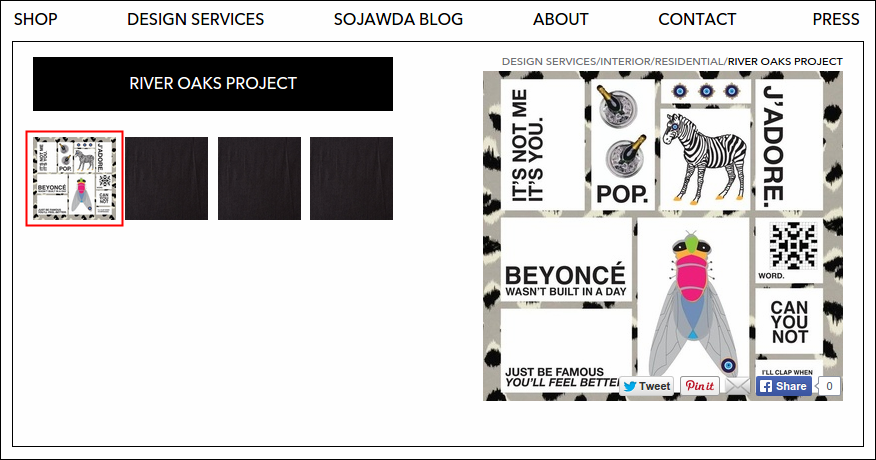
You'll be notified afterwards that the content was successfully published. Particular thumbnail is now replaced with a new image, see below:
Adding a New Child Page
-
Log in using Admin credentials.
-
Click the Live button at the top right hand of the page. As you clicked, status will turn to Draft.
-
Click django CMS beside JAWDAANDJAWDA.COM.

-
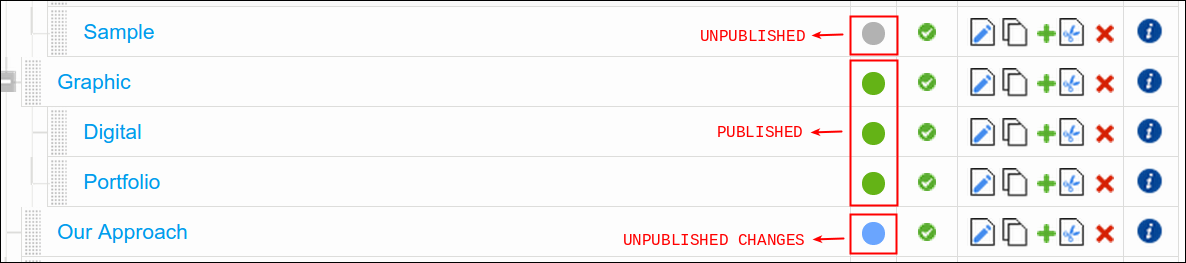
Page tree of the site will display. All of published and unpublished (draft) pages are displayed here and to identify the status of your page, simply refer to EN column. These circles represents whether your page is published or not. Green means published, blinking blue means unpublished changes and grey means unpublished (new page, no previous changes at all).
To change the status of your page from Unpublished Changes/Unpublished to Published, simply click the blue or grey circle. It will lead you to its full main page of the selected item and from there you'll find the Publish Changes or Publish Page Now button at the top right side of the page. Click the said button and voila, your page is now published. Let us now proceed to next step to continue in adding a new child page.
-
To add a child page, click the add child or the green plus icon of the page you desired to have a child page. Let's try to add a new child page under Interior*.

There will be 3 new arrow buttons that will appear along the line of your selected page. Hover over the arrows to see its labels:
- Insert above: means create a page (another sub category) above Interior
- Insert below: means create a page (another sub category) below Interior
- Insert inside: means create a child page under InteriorUse the approriate arrow according to your need, in this case we want to add a child page to Interior so we should choose the Insert inside arrow.

-
Add Page window will pop out. Create the page, minimum requirement is Title. As you enter the title of your child page, Slug will be automatically filled. Click Save afterwards. I named our page Sample.
-
Newly created page is now listed under Interior. As what discussed in #4, newly created pages are considered as unpublished pages and you can identify that by checking the color of its circle under EN column. Sample page has gray circle meaning page isn't visible yet on site. To make the page visible and accessible, follow the instructions given on #4. Click the gray circle, wait til it divert you to main page and from then click Publish Page Now button.

Return to page tree, click again django CMS. Sample page should have a published status or green circle by now just like this:

Important: You need to make sure that your newly created or modified page should always be published subsequently so that visitors of the site can access or view at least your made changes.
Editing an Existing Page
-
Log in using Admin credentials.
-
Click JAWDAANDJAWDA.COM and select Pages...
-
Expand the page tree window to clearly view the list of live pages.
-
Go to certain page under Design Services that you wish to edit, let's choose Interiors as an example.
-
To edit the page, click the 'paper with a pencil' icon. Other action icons such as copy (two paper icon) and cut(paper with a scissor icon) are also useful on this page.

-
Change Page window will appear, you may now update the details of your page.
-
Click Save to continue, a 'change' confirmation message of your action will prompt at the top left hand of the page.

-
To finish, close the page tree window to return to main site, a 'publish' confirmation message must display afterwards (see the screenshot below).

Deleting an Existing Page
-
Log in using Admin credentials.
-
Click JAWDAANDJAWDA.COM and select Pages...
-
Expand the page tree window to clearly view the list of live pages.
-
Go to certain page under Design Services that you wish to remove, let's choose Hospitality as an example.
-
To delete the page, click the red 'multiply sign' icon.

-
A confirmation message will pop out to validate your action.
-
Click Yes, I'm sure button to continue. Observe that Hospitality is no longer listed in the list and a 'delete' confirmation message of your action will prompt at the top left hand of the page.

-
To finish, return the page to Live page and check Design Services page, Hospitality should no longer listed under Interiors category.
Editing an Image
-
Log in using Admin credentials.
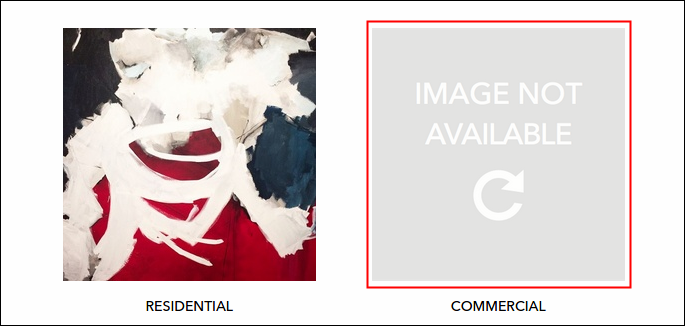
Currently, when you click Interiors category, Commercial doesn't have image preview yet, the one displays is the default image 'Image Not Available'.
-
Go to Design Services page and select one property from the listed categories that displays an image preview (except FAQ's and Our Approach of course). Let's try Commercial.
-
It is still a blank page because there isn't added new page yet under Commercial but you can check the url to be sure that you're directed to your preferred page. We selected Commercial, so it should be now jawda-staging.softwarelab7.com/design-services/interiors/commercial/.
-
Click Page and select Edit This Page.
-
Click Page again and select Page Preview.
-
To add a preview image, click Choose File and select the image that you want to upload.
-
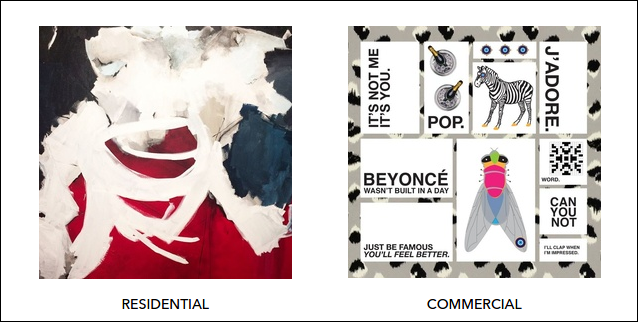
Once done, click Save and hit Publish Changes to post the changes. I uploaded a photo under Commercial and here's what it looks like now after I publish the change.
Adding a Text on Our Approach or FAQ Page
-
Log in using Admin credentials.
-
Go to Design Services, select either Our Approach or FAQ category (text-based pages). Let's try to add text to_Our Approach_.
-
Set your page into editing mode by clicking the Live button and click Structure.
-
Title and Content plugins will appear.

- Title- holds the title of the page, we are at Our Approach page so it is now named to it.
- Content- holds the body or content of the page.
Currently Our Approach have no content yet so let's try to add text to Content plugin. Hover its menu and locate Text.

-
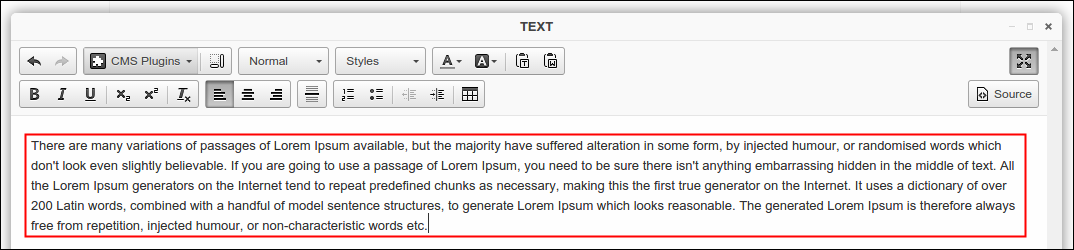
At Text window, enter the words that you want to be posted on Our Approach page. Same goes with FAQ page.
-
Click Save and hit Publish Changes to upload the changes.
Editing a Text on Our Approach or FAQ Page
-
Log in using Admin credentials.
-
Go to either Our Approach or FAQs page. This time, I chose to edit the Our Approach page.
-
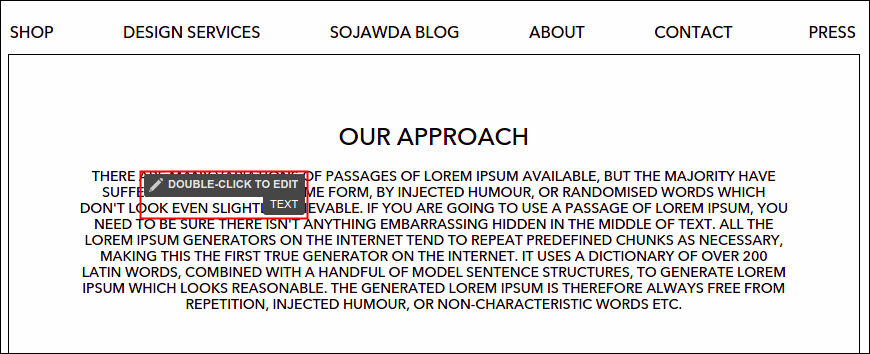
Turn your page into editing mode, move your cursor unto existing text. As you can see, there's a writing that says double click to edit.
-
To edit, double click from the page and then update the content when Text window already pop out.
-
Click Save and hit Publish Changes to upload the changes.
Deleting a Text Entry on Our Approach or FAQ Page
-
Log in using Admin credentials.
-
Go to either Our Approach or FAQs page. Let's delete the text entry of FAQs page as an example.
-
Set your page into editing mode by clicking the Live button and click Structure.
-
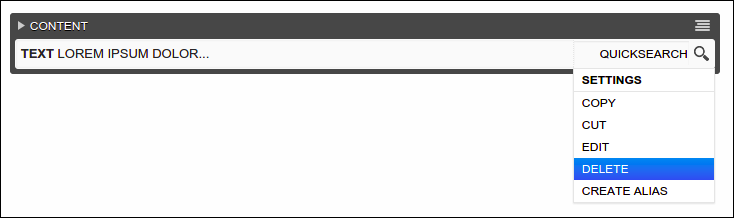
Under Content plugin, click the menu of the existing text entry and select Delete.
-
A confirmation message will pop out to validate your action.
-
Click Yes, I'm sure button to continue and hit Publish Changes to upload the changes.
-
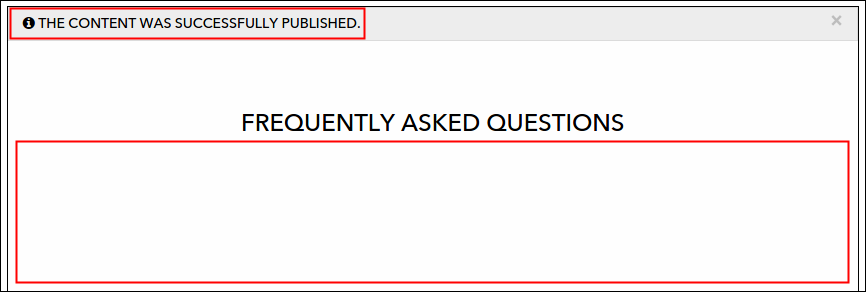
A 'publish' confirmation message must appear and content of FAQs page must now again emptied out.
Change the Title of an Existing Category
If you want to update the title of an existing category like turning the word Interiors to Interior (without the letter s), then you're in the right place. On this guideline, I'll teach you to edit the name of current categories under Design Services menu. To learn more, refer to the following instructions:
-
First of course, log in on the side using your Admin credentials.
-
Click JAWDAANDJAWDA.COM and select Pages....

-
Page tree of the site will appear on the side page, click the square icon to expand the display of window.
-
Window will expand, you now have clearer view of the page tree. To show all the pages, click the plus(+) sign beside Home. From then, go to Design Services and locate the category that you wish to update the title and click the edit icon (the one with pencil in it).


-
Do your thing, update the name of the category, remove the s from Interiors. For every change that you made, always click the Save button to make sure it's saved successfully.
-
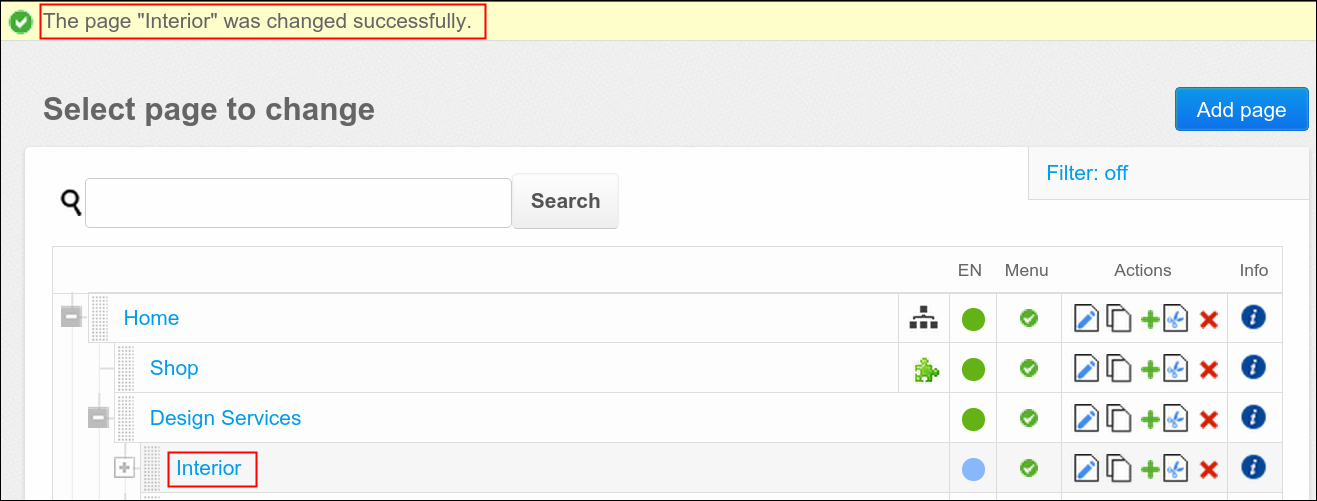
A message will appear that says 'The page "name of page" was changed successfully'. Notice that category Interior is now changed on the page tree.
-
Close the window and go back to main site by clicking the multiply(x) icon. Click the Live status button located at the upper right hand side of the page. Wait til it changed to Draft status, click Publish Changes button (blue one) to successfully upload your just made changes. There it goes, Interiors is now changed to Interior.
