Creating a New Range
Ranges refers to set of different things of the same general type. It was like creating different set of product scopes that is essential in creating a voucher (to learn more of that, see Creating New Voucher). On this guideline you'll be able to learn how to make a new range, update its details and delete the unusable one. Check out the following procedures below:
-
First, log in using your Admin credentials.
-
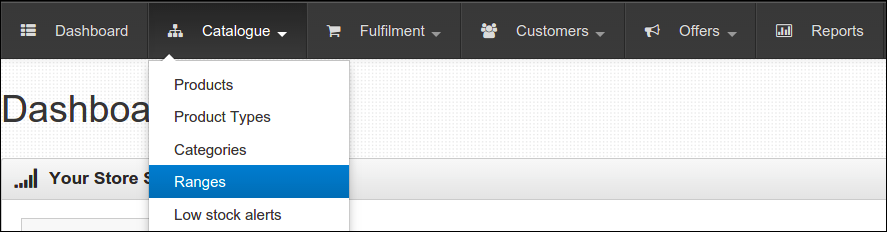
Click Dashboard, Catalogue and select Ranges.
-
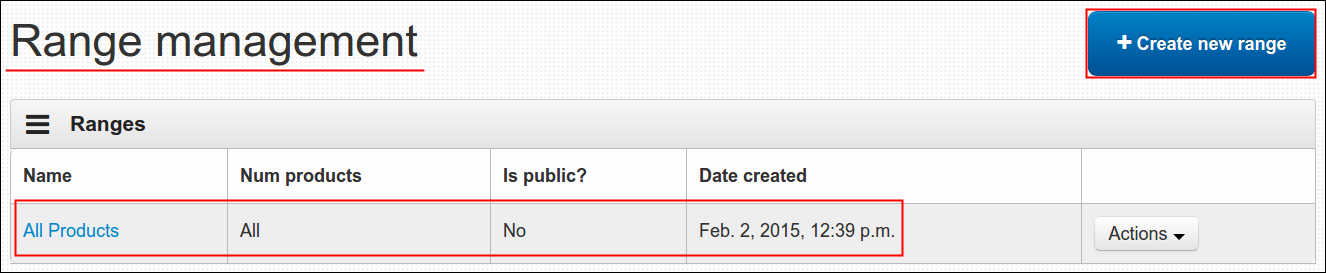
Range Management page will display, all active ranges are shown under Ranges table. As of now, we have the All Products range that from the name itself captures all the products in the site.
-
To continue in creating a new one, click Create new range button and fill in all the required fields such as follows:
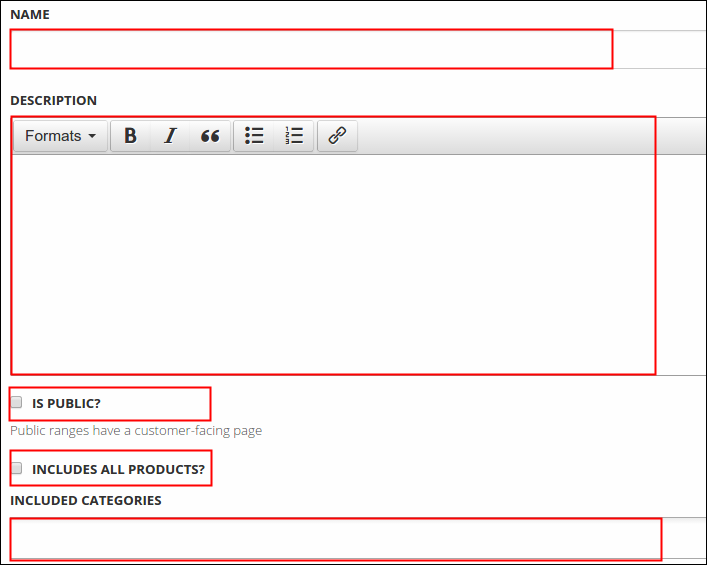
- Name- title of product range. (ex. Jawline Collection, Holiday Cards)
- Description- brief information about the product range.
- Is Public?- displays the concerned products on main site.
- Includes All Products?- if your range involves all the products in the system, toggle this one.
- Included Categories- if you untoggled the Includes All Products?, select here the concerned category.
-
Click the Save button.
A message will display that says newly created range is now saved and you'll notice that it is now added under Ranges table. You may use the Edit again or Edit included products (to non all products range) buttons if you missed something.


Update an Existing Range
Now that you learned how to create a new range, it is now time to know how to update one. The process is the same, you need to log in first using your Admin credentials and the rest would be the following:
-
After you manage to log in, click Dashboard, Catalogue and select Ranges.
-
You'll be facing the Range Management page again. From the Ranges table, choose the range that you wish to update. Click the Actions button and select Edit.

-
As you clicked the edit option, same form in creating a new range will display again. Go to the section that needs an update and do your thing.
-
Always remember to click the Save button after you finish.
Note: Ranges that involves fewer products (not all products) displays different set of Actions list. The options added are the Edit Products and View on Site (if Is Public is toggled). Further use of these options will be discussed in the next sections.

Update the Products Included in Existing Range
As what mentioned earlier, created range that involves fewer products (or non all-product range) has this edit option from Actions button wherein you can indicate the specific products included in one particular range. As an example, I added the Jawline Collection range that covers the products under The Jawline Collection only. Procedures are quite similar with above-mentioned guidelines, after you logged in as a system administrator proceed to Range Management page and follow the next steps below:
-
Refer to Ranges table and select the item that you wish to update its included products, click Actions and select Edit Products.

-
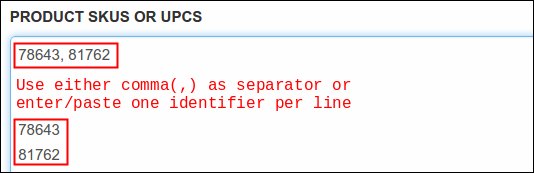
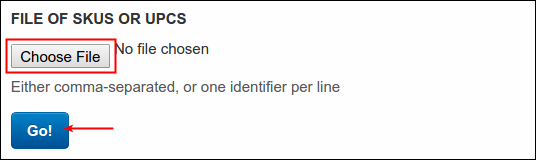
On Product SKUs or UPCs field, enter or paste the SKUs or UPCs of the products included in the range. For multiple identifiers, use comma(,) as separator or paste/enter one identifier per line.
You may also upload the SKU or UPC file (if any). To do so, click Choose File and locate then the relative files. Always click the Go! button after you finish.
-
After you either pasted or uploaded the concerned SKUs or UPCs, a message will appear and corresponding products of entered SKUs or UPCs will display under Products in range table with the following useful buttons:
- Remove- to delete the product.
- Re-order- to change the order of the product from the list.


-
Click Edit Range button to update again the details of your range, or click return to range list link to return to the menu.
Delete an Existing Range
After you learned how to add a new range and update both all-products and fewer products type of range, it is now time to experience how to delete an unusable one. The procedures are not so different with just mentioned guidelines above. To start, follow the steps below:
-
Make sure to log in using your Admin credentials.
-
Click Dashboard, Catalogue and select Ranges.
-
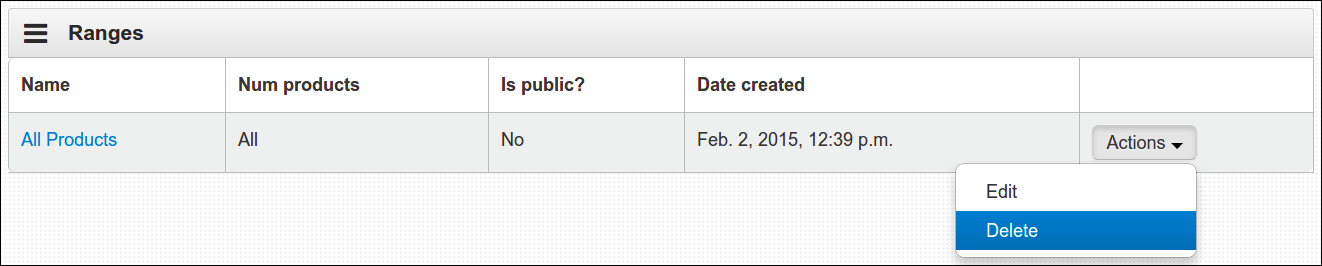
From the Ranges table, choose the range that you wish to delete. Click the Actions button and select Delete.
-
A message will pop out asking if you are sure to delete the selected range. Click Delete to continue or you may hit the Cancel to return to the menu.
-
A confirmation message will display that says 'Range deleted'. You'll notice as well that the just removed item is now removed under Ranges table.
